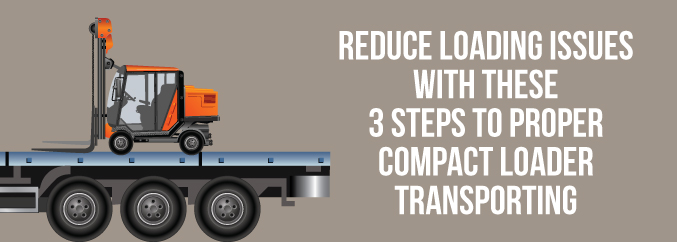
Reduce Loading Issues With These 3 Steps to Proper Compact Loader Transporting
If you’re a regular reader of our blog, you know we like to pass along tips you can share with your dealership’s customers. That helps you develop stronger relationships with them. You’re building loyalty by helping them improve productivity and safety within their own construction firms. The reminders below about compact loader transporting will come in handy for almost everyone.
3 Simple Steps to Compact Loader Transporting
Step #1: Choose the right vehicle
Just because a truck has a flatbed or a tow hitch doesn’t automatically make it the right vehicle to move every piece of equipment. Compact loader size and weight both matter, to ensure transportation is safe, fuel-efficient and doesn’t put undue strain on your transport and towing vehicles. Attachments can add both weight and size.
A 10,000-pound trailer might be fine for smaller machines, but you’ll probably want a 20,000- or 30,000-pound trailer (or even larger) if you’re transporting a larger model loader plus attachments. Make sure the ramps are of adequate design and weight capacity, too.
Step 2: Follow proper loading procedure
Memorize this checklist of things to do, so you don’t skip one of these vital actions:
If the compact loader has an auto-idle feature, disengage it for loading and unloading.
- Clean off debris such as sand and mud before loading.
- Block or support the rear end of the trailer before loading or unloading. This prevents the front end from rising up.
- Remember “heavy end first” when loading the machine. A loader without attachments is heavier in the rear, so you’ll want to back onto the trailer. However, attachments make the front end heavier. Follow the OEM’s instructions for positioning the loader on the trailer.
Step 3: Secure your load
Once again, it’s a good idea to use a mental checklist:
- Lower the attachment (if any) to the trailer deck.
- Shut off the engine.
- Set the parking brake.
- Install safety chains on the compact loader’s front and rear tie-downs.
- Tighten the chains and binders.
Always follow the instructions in your owner’s manual for hooking up and securing safety chains.
Customized trailers can be a big asset.
If your contractor customers transport certain equipment and attachments frequently, a custom-modified trailer can make this part of their work go faster and smoother. For instance, landscapers often need certain buckets. A demolition company often needs a hydraulic breaker. Side pockets or racks built to accommodate often-used attachments or accessories make transport much more efficient.
You can share information like these reminders with customers as you’re speaking to them one-on-one. However, you can use them as a marketing tool for your dealership, too. Sharing these tips via social media, in nurturing email campaigns, through your own blog or as a downloadable checklist will help you will attract interest from prospective customers.


 If the